Hello all, just wanted to let you know that there’s a PreBuilt Server project on SourceForge that I started on May 11, 2014 (it did exist before that, just not on SourceForge). This was originally intended for people who are new to hosting Minecraft Servers (generally people who don’t exactly know how they can create their own server) and/or don’t have enough system resources to host a server. The SourceForge project has servers as far back as 1.6.4 and are split up into different “Seasons”. Season 1 contains 1.6.4, 1.7.2, 1.7.4, 1.7.5, 1.7.8, and 1.7.9; Season 2 contains 1.7.2 and 1.7.10; Season 3 [BETA] contains 1.7.X-1.8.X (a.k.a. supports all 1.7 and 1.8 clients). Then I abandoned the project for 7 months and have decided to continue the project, skipping Season 4 and a bunch of possible version numbers, making the current build (at the time of writing) version 126 in Season 5 (for 1.8.X only).
What this has to do with MineOS is that this build was made for use with the MineOS WebUI (while maintaining usability on Windows systems as well as others). This actually runs on 256MB RAM with a high/decent TPS!
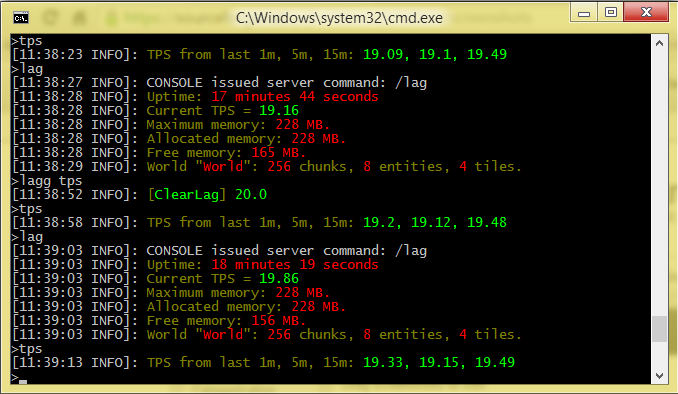
Screenshot taken from a computer running Windows 8.1
Here is a link to the SourceForge Page for those who want to check it out: https://sourceforge.net/projects/jm36servers/
And here are links to my Official Web: www.jm36.tk | www.jaymontana36.tk or just click on the link from the SourceForge Page if those two don’t work.
Steps required for usage with MineOS (Copied from README file):
 - - - Starting Server on Linux (MineOS Web UI) [Best Method | Recommended | Easiest | Featured]
 - - Step One: Installing the PreBuilt Server's Required Files
 - Simply copy/upload the "Server" folder into the "/var/games/minecraft/servers" folder. When complete, proceed to "Step Two" below.

 - - Step Two: Preparing the PreBuilt Server for use:
 - Before you start the server, you MUST first goto the "server.config" section of the WebUI and set/change "MaxRAM" to the amount of RAM you want the server to be able to use (most people like to set this value to the max usable RAM in their system, minus 256MB). Then goto the "Manage Profiles" section of the WebUI, click on "Create Custom Profile". Enter the following information: [Profile Name: JM36] | [type: unmanaged] | [Jarfile to run: JM36.jar] then click submit.

 - - Step Three: Starting the server (you should already know how to do this, as it's self explanitory):
 - Goto the WebUI "Dashboard", click on "Server", and click "Start". Important note: The first time you start the server may take awhile before it's ready to use, as it needs to download a few files which were left out to make the file size much smaller, as well as generate some default databases and configs (which were removed because they're default; no changes were made to them). Have fun and Hope you enjoy the server!
Note that you can substitute step one if you downloaded the ZIP version of the package by uploading that ZIP into “/var/games/minecraft/import” then from the WebUI, create server from archive.
How to set ranks (also from the README file):
Permissions System:
PermissionsEx (PEX); there are a few predefined ranks: Member (Member), VIP (VIP), TStaff (-Staff | TrialStaff), Staff (Staff), HStaff (+Staff | HeadStaff), TBuilder (-Builder | Trialbuilder), Builder (Builder), HBuilder (+Builder | HeadBuilder), Co-Owner (Co-Owner), Owner (Owner).
To set yourself as Owner, copy and paste the following in console: "pex user <username> group set Owner"
To add people as another rank, type "/pex user <username> group add <grup>"
To see the list of permissions a group comes with by default, head over to https://sites.google.com/site/jaymontana36jasen/server/ranks
Oh and I will be making a step-by-step- guide on my Forums when I can, along with a video on how to do it when I can, and then I will update this post with the same information. Have fun!
 . Glad is seems to be straighten out. Maybe now newbies like me can continue learning. Thanks guys for all your dedication to this project.